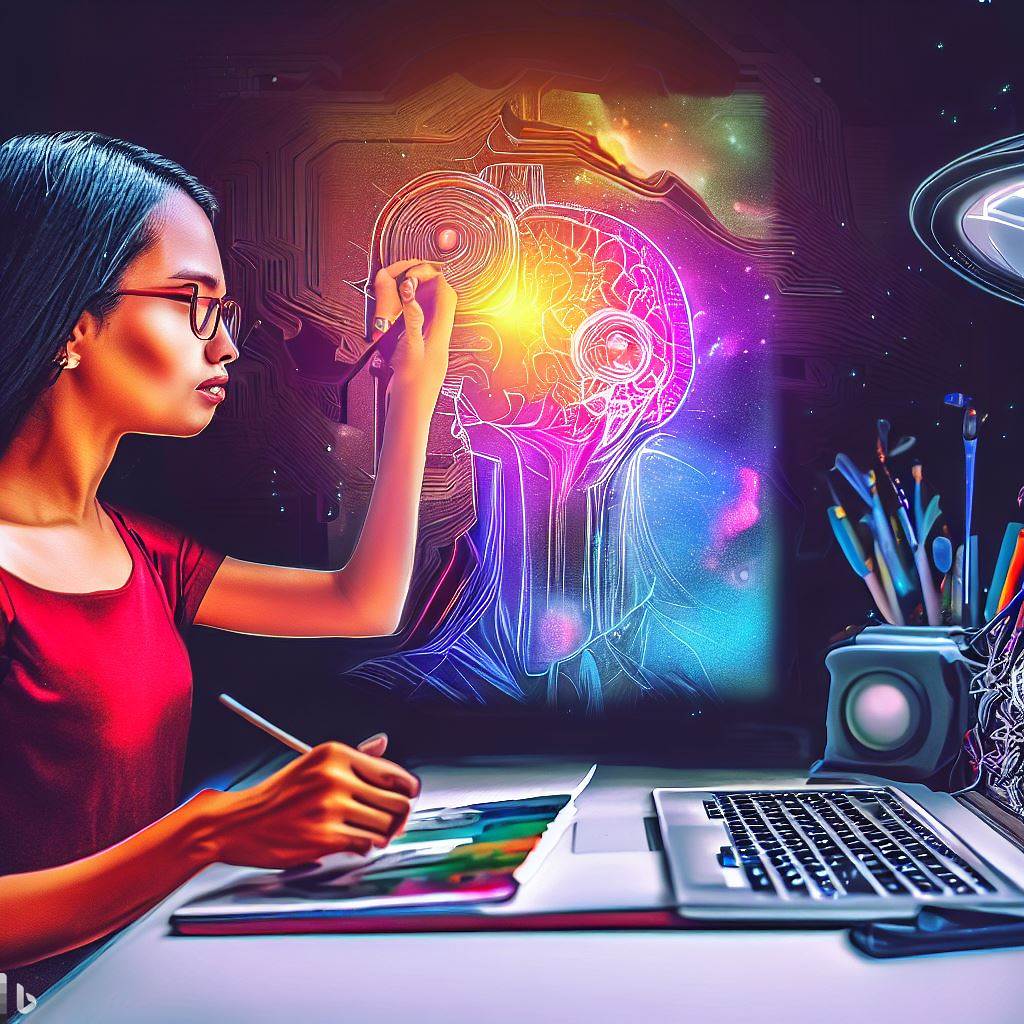
Planning the Artwork
To plan your artwork as a digital artist, start with choosing the subject, creating a sketch, and deciding on the colors and style. Each of these sub-sections offers a unique solution that can guide your creative process and help you bring your artistic vision to life.
Choosing the Subject
Deciding on the Artwork’s Theme
The first step in planning artwork is selecting a theme or subject matter. This decision will determine the mood, style, and technique of the piece. Consideration should be given to current trends, personal interests, and target audience.
Once the general subject matter has been determined, it is essential to narrow it down to a specific idea or concept. It ensures that the artwork has focus and avoids wandering off-topic. Brainstorming ideas and researching reference material can aid this process.
To create an engaging and captivating piece, it is crucial to add a personal touch to the selected subject. By bringing unique perspectives and experiences into the art piece, personality shines through.
A study conducted by Kaimal et al. (2017) showed that when artists draw subjects with which they are emotionally connected, their stress levels decrease and overall mood improves during their creating process.
Sketching out your masterpiece is like mapping out a road trip, but with less snacks and more erasers.
Creating a Sketch
When planning the artwork, it is important to start by developing a visual representation, or sketch, of your ideas. This allows you to see your concept in a basic form and make any necessary adjustments before diving into the final rendering.
To create a sketch, follow these four steps:
- Choose your medium – whether it be pencil and paper, digital software, or another preferred method.
- Block out basic shapes and composition – focus on overall proportions and placement of elements.
- Add details and refine the drawing – add texture, shading, and other defining characteristics.
- Evaluate and make changes as needed before moving onto the final piece.
It’s also helpful to keep references handy for accuracy while sketching. A skeletal framework can aid in ensuring your piece maintains its intended layout when adding more intricate features.
A notable fact is that Leonardo da Vinci utilized sketches extensively for his paintings such as The Last Supper.
Choosing colors and style is like picking a partner, it needs to be bold, beautiful, and make you feel something.
Deciding on the Colors and Style
Selecting the Color Palette and Design Aesthetic
When it comes to producing artwork, determining the color scheme and overall style are critical choices that set the tone for your project. These decisions will impact everything from typography selection to image choices.
To make informed judgments about colors and style, consider the following points:
| Column 1 | Column 2 | Column 3 |
|---|---|---|
| Intended Audience | The age group, gender, socioeconomic background, geographic location, or interests of your target demographic can all factor into color preference. | Certain colors evoke different emotions and perceptions among various groups. |
| Brand Identity | Make sure that your color palette aligns with any existing branding guidelines or marketing materials. If creating a new design aesthetic entirely, use this opportunity to refresh or establish a brand personality. | Consistency in design elements is crucial to build brand recognition. |
| Medium/Format | Depending on how the artwork will be displayed (e.g., print vs digital), certain color combinations and styles may appear differently or not work well at all. Consider how colors will render on various screens or print materials before deciding on a final palette or style. |
Once you have considered these factors, explore options for colors and style that reflect your project’s goals and align with brand standards if applicable.
Consideration should also be given to unusual design elements such as textured paper stocks for printed collateral or incorporating unique image formats.
Incorporate appropriate colors along with photo filters and image treatments to give the project personality while speaking directly to consumers. Ensuring an innovative approach when creating artwork helps bring originality while providing varied solutions stemming from outside expectations.
By carefully considering audience preferences, staying true to brand identity, evaluating medium/format appropriateness, incorporating unconventional elements alongside offering innovative approaches to imagery sets up projects for success on multiple levels by producing high impact results.
Setting up your workspace is like preparing for battle, but instead of weapons, you have paintbrushes and instead of enemies, you have a blank canvas staring back at you.
Setting Up the Workspace
To set up your workspace for digital art creation, you need to make sure you have the right digital tools, configure your software and hardware, and create a comfortable working environment. Choosing the Digital Tools, Configuring the Software and Hardware, and Creating a Comfortable Working Space are the sub-sections that will help you create an optimally functional workspace.
Choosing the Digital Tools
When selecting tools for your digital workspace, you must consider their compatibility and usability. Ensure that the software and hardware interact with one another correctly and perform functions adequately.
It’s essential to choose tools that align well with your preferences and work style. The digital solutions must be user-friendly, equitable, efficient, and dependable. One can consider factors like functionality, user interface (UI), Learning curve, cost-effectiveness.
It is also crucial to select the proper tool for each job rather than clinging to a single all-purpose solution. You may keep updating as you grow (industries). The variation creates harmony in the workflow while integrating efficiency into the system.
As technology advances, it allows us to work more efficiently and productively in our workspaces. Workspaces become more adaptive as they integrate new technologies simultaneously improving productivity.
An example of this is how IBM created its computer systems that provided models for high-performance computing capability by leveraging the latest available technologies at launch.
Get ready to enter the Matrix as we configure our software and hardware like true tech ninjas.
Configuring the Software and Hardware
To ensure a smooth and efficient work environment, it is essential to configure the hardware and software correctly. Here’s how to do it:
- Start by installing all necessary software on your computer. This includes your operating system, productivity tools, and any other programs specific to your workspace.
- Ensure that all hardware components are set up correctly. This includes connecting all devices such as printers, scanners, and speakers, to their respective ports and ensuring they are working correctly.
- Adjust settings on both your software and hardware to suit your preferences. This may include customizing keyboard shortcuts or display settings to improve productivity.
It’s important to note that an environment designed for optimal comfort can enhance productivity. Consider factors such as lighting, furniture setup, and ergonomics when configuring your workspace.
To minimize distractions in the workplace, consider disabling notifications or using a different device for personal communication.
By configuring your hardware and software for maximum efficiency while considering personal comfort preferences, you’ll create a workspace conducive to productive work.
Who needs a fancy ergonomic chair when you have a pile of pillows and a back spasm waiting to happen?
Creating a Comfortable Working Space
To optimize your workspace for better productivity, it is important to establish a comfortable working area. Here are some tips for creating an ergonomic and comfortable work environment:
- Invest in a good chair that can provide ample support to your back and neck while sitting for long hours.
- Ensure that the table height is appropriate, allowing you to maintain correct posture while typing or using the mouse.
- Position the computer monitor at eye level to avoid neck strain and glare.
- Avoid cluttering your workspace with unnecessary items. Make sure all essential tools are within reach.
It is also important to consider lighting, temperature, and noise levels. Proper lighting can reduce eye strain, while adjusting temperature can enhance comfort levels. A quiet workplace helps avoid distractions and enables better focus.
Apart from these points, be mindful of room ventilation as well. A stuffy environment can lead to lethargy and decrease motivation.
Remember that small adjustments in your workspace can have a significant impact on productivity levels. So take time out to evaluate whether your work environment meets optimal ergonomic standards.
Incorporate these suggestions into your work routine today for a more productive tomorrow!
Time to get creative and make some art, or as I like to call it, the perfect excuse to procrastinate setting up my workspace.
Creating the Artwork
To create stunning digital artwork with precision and patience, use [title] with [sub-sections] as solution. You can easily master the art of digital creation by following these sub-sections. Start with drawing the outline, then add intricate details and textures, and finally, apply colors and shading for a visually pleasing output.
Drawing the Outline
The Art of Basic Sketching
Creating the outline for an artwork sets the foundation for its visual impact. The method used to create this framework is critical in achieving a proper proportion and balance between the various elements of an image.
- Establish Reference Points
To ensure that your drawing achieves a proportional composition, determine where your subject’s major features should be positioned on the page. Use straight lines or approximate curves to guide you as you begin sketching.
- Block Out Major Shapes
Building off of your reference points, develop a rough draft by blocking out larger shapes that divide sections within your initial sketches. This provides important clues about how the features are placed in relation to one another, while also setting up shadows and highlights.
- Add Detail
Once you have pinpointed where everything should be, it’s time to add more intricate details or finer outlines for precise drawings. Sharpen each element carefully until they reach a position that accurately resembles their real form.
As with all art forms, it is essential to practice these sketching techniques frequently to become proficient at them over time.
True History:
Many well-known artists throughout history have utilized this method primarily as their starting point when creating artwork. For example, Da Vinci’s renowned Vitruvian Man drawing began with a detailed outline that mapped out the proportions of the human anatomy based on mathematical principles derived from ancient architecture and mathematics textbooks.
Get ready to add some texture to your life (and artwork) with these tips!
Adding Details and Textures
To fully enhance the artwork, various intricate designs and tactile patterns can be embellished to provide a unique finish. By incorporating subtle variations in texture, shading, and blend modes, images come to life with depth and dimension. Adding visually appealing elements such as intricate designs and tactile patterns can make the artwork even more interesting.
“Who needs a therapist when you can just apply some colors and shading to unleash your inner emotions on canvas?”
Applying Colors and Shading
When creating artwork, the use of colors and shading play a vital role in portraying the artist’s message. Color theory and technique make an art piece unique and eye-catching. Applying various shades to certain areas of the art can express depth and perspective.
Color choices are also essential as they evoke emotions. For instance, red symbolizes passion or anger while blue can represent sadness or calmness. A combination of contrasting colors makes the artwork more dynamic and visually appealing.
In addition, it’s important to understand light sources when applying shading. Observation of shadows in real life or referencing other artworks is necessary for a realistic depiction. Combining color and shading techniques showcase an artist’s talent in manipulating an otherwise flat surface into a 3D representation of their artistic vision.
To fully bring out an artist’s intended message in their artwork, it takes knowledge and practice in mastering color applications and shading techniques.
Don’t miss the opportunity to elevate your art pieces with vibrant colors and alluring shades. Start exploring now!
When it comes to refining your artwork, remember: it’s like polishing a diamond – except instead of bling, you’re aiming for a masterpiece.
Refining the Artwork
To refine your digital artwork with precision and attention to detail in “Refining the Artwork” section with “Adjusting the Composition, Refining the Colors and Shading, Adding Final Touches and Details” as solution briefly. Each sub-section plays an important role in perfecting your digital art, ensuring that every element is harmoniously balanced, and the creative process has a clear direction.
Adjusting the Composition
To achieve the desired effect, adjusting the compositional arrangement of elements is crucial in refining artwork. The careful placement and resizing of objects will give the piece balance, focus, depth and visual interest. It can influence how a piece is perceived by viewers and make it more visually appealing.
Below is a table showing important considerations when adjusting the compositional arrangement:
| Column 1 | Column 2 |
|---|---|
| Balance | Focal Point |
| Columns | Rule of Thirds |
| Space | Unity/Harmony |
| Proportion | Depth |
When considering balance, assess whether there’s an equal distribution of weight in terms of color, size or texture. Focal point should be where all design elements converge for maximum impact. Use columns to organize information to enhance readability. Break up empty space to add visual interest while maintaining unity/harmony through consistent use of color or typography.
Note that proportion influences how each element fits into the whole composition while depth adds dimensionality to create realism and draw attention.
By following these principles and playing around with designs, creating winning artwork is possible!
Let’s add some shade to this artwork, otherwise it’ll look like it’s been left out in the sun for too long.
Refining the Colors and Shading
Expanding the Artwork: Enhancing Colors and Shadows
To make your artwork stand out, refining the colors and shading is essential. Here’s a five-step guide to help you bring life to your masterpiece:
- Start with an appropriate color palette: Choose colors that align with the message or mood you want to convey.
- Add definitions and tonal values: Define the light sources and add shadows to create depth and dimension.
- Use blending techniques: Blending different colors gives a natural flow and transition throughout the artwork.
- Use layering for effects: Adding layers of subtle shade and color can take your artwork to a new level of depth.
- Tweak and Adjust: Keep adjusting until you are satisfied with how it looks.
Apart from these steps, keep in mind that smaller details like highlights, gradients, and tones are also crucial factors in refining your artwork.
One important thing to note – while enhancing the colors and shading during refinement, don’t go overboard as it can take away from its essence.
Once upon a time, an aspiring artist spent days working on their artwork. They were so focused on getting every detail perfect that they neglected color coordination. A helpful peer came along and suggested using tonal values for defining light sources, applying contrasting colors for a harmonizing effect, leading them towards an exceptional work of art.
Because the devil’s in the details, but so is the beauty – adding those final touches can make all the difference in refining your artwork.
Adding Final Touches and Details
Using Precision and Care to Elevate Artwork
Refining the artwork involves adding final touches and details with precision and care, giving a professional finish to the art piece.
Here is a 6-step guide:
- Adjust the color palette by enhancing highlights and shadows
- Add texture by using various brush strokes and layering
- Refine the edges using eraser or pen tool
- Highlight features by adding shading, shadows, and lighting effects
- Modify composition by resizing or moving elements for balance
- Perform final cleaning up of any mistakes or blemishes using appropriate tools
To further elevate your artwork, consider adding unique personal details like embedded messages, visual metaphors or Easter eggs, enabling you to create an emotional impact on your audience.
Pro Tip: Always backup your original artwork before making any changes. It ensures that you can always revert back to the original if required.
Exporting your refined artwork is like sending your masterpiece off to college, hoping it’ll make you proud and not embarrass you by turning into abstract art.
Saving and Exporting the Artwork
To ensure your digital artwork is stored and accessible for future use, this section on saving and exporting your artwork with different formats and resolutions is essential. You can learn about saving your work-in-progress, exporting your digital artwork to multiple file formats and resolutions. Additionally, sharing your artwork on social media and portfolio websites will help you gain exposure and increase the visibility of your art.
Saving the Work-in-Progress
To ensure your work is not lost, it is essential to save the artwork regularly. This can be achieved through a few simple steps:
- Click on the ‘File’ menu.
- Select ‘Save As’.
- Name your file.
- Choose where you want to save your file.
By following these steps, you can protect the progress of your artwork and resume working from where you left off.
It’s important to remember that saving multiple versions of your work can allow for experimentation and provide backup options in case the original file becomes corrupted or lost.
When choosing a location to save your file, consider using cloud storage solutions, such as Google Drive or Dropbox, for easy access across devices and added security measures.
Regularly saving and backing up files ensures that progress is never lost, giving peace of mind and allowing for a more focused creative process.
Make sure your export settings are like a first date – don’t reveal too much, but give just enough to keep them interested.
Exporting to Different File Formats and Resolutions
To preserve your artwork properly, it is necessary to export it in different file formats and resolutions. Here is everything you need to know about exporting digital artwork effectively.
| Exporting to Different Output Formats | Export Settings |
|---|---|
| JPEG | Maximum quality |
| TIFF | LZW Compression |
| High Quality |
When exporting artwork, the output format and resolution are important considerations. For example, JPEG is an ideal format for web use, while TIFF and PDF are suitable for printing. The export settings will depend on the final use of the artwork, such as maximum quality for a digital screen display or LZW compression for print-ready files.
It’s crucial to check the exporting settings before proceeding with the process. Some formatting options may affect the image’s quality or size during transport. An essential thing to remember is that once saved, changing these settings cannot be reversed, resulting in irreversible damage or loss of data.
A client once requested a printed version of a company’s logo without realizing its original resolution was too low and blurry when printed at full-size. It resulted in re-designing efforts that could have been avoided by creating a high-resolution logo from the start and ensuring it was exported correctly.
Make your artwork go viral, or at least get a few likes, by sharing it on social media and portfolio websites.
Sharing the Artwork on Social Media and Portfolio Websites.
Sharing your artwork on various social media and portfolio websites can help you boost visibility and reach a larger audience. Doing so not only displays your creativity but also attracts potential clients or collaborators who might be interested in your work.
- Use the right dimensions: Different social media platforms have specific image dimension requirements. Ensure that you tailor the size of your image to fit each platform.
- Add creative descriptions: Captions or descriptions are equally important when sharing art online. Come up with contextual copy to give viewers an insight into what inspired your artwork creation
- Hashtag appropriately: The use of relevant hashtags helps people find your work easily. Be sure to use appropriate keywords that align with the medium, theme, or audience you are targeting.
When posting on social media, it’s essential to consider the timing and frequency of posts. Having a schedule can help keep audiences engaged while avoiding flooding feeds with too many posts.
Pro Tip: Try out different marketing strategies such as paid advertising campaigns or collaborations with other artists for increased exposure.
FAQ – How does a digital artist create art?
1. What is digital art?
Digital art refers to any art that is created using digital technologies such as computers, tablets, and software.
2. What tools do digital artists use?
Digital artists use a variety of tools including tablets, stylus, brushes, pencils, and software such as Photoshop and Illustrator to create their art.
3. How does a digital artist create a graphic?
A digital artist can create a graphic by using software such as Photoshop. This allows them to use a variety of color options, as well as different techniques such as vector and raster graphics.
4. What is digital installation art?
Digital installation art is a type of art that uses digital technologies to create interactive installations that engage the viewer.
5. How does a digital artist create a digital painting?
A digital artist can create a digital painting by using a stylus on a tablet or by using software like Photoshop or Procreate. They can choose from a variety of brushes to create different textures and effects.
6. What is the role of animation in digital art?
Animation is an important aspect of digital art, as it allows the artist to bring their creations to life. Digital artists use software such as After Effects and Toon Boom to create animations.
7. What is the difference between digital media and traditional media?
The difference between digital media and traditional media is that digital media uses computational art, whereas traditional media uses physical materials such as paint and canvas.
8. How does a digital artist create a scan?
A digital artist can create a scan by using a scanner to convert a physical object or drawing to a digital form.
9. What is computational art?
Computational art is a form of digital art that uses algorithms to create art